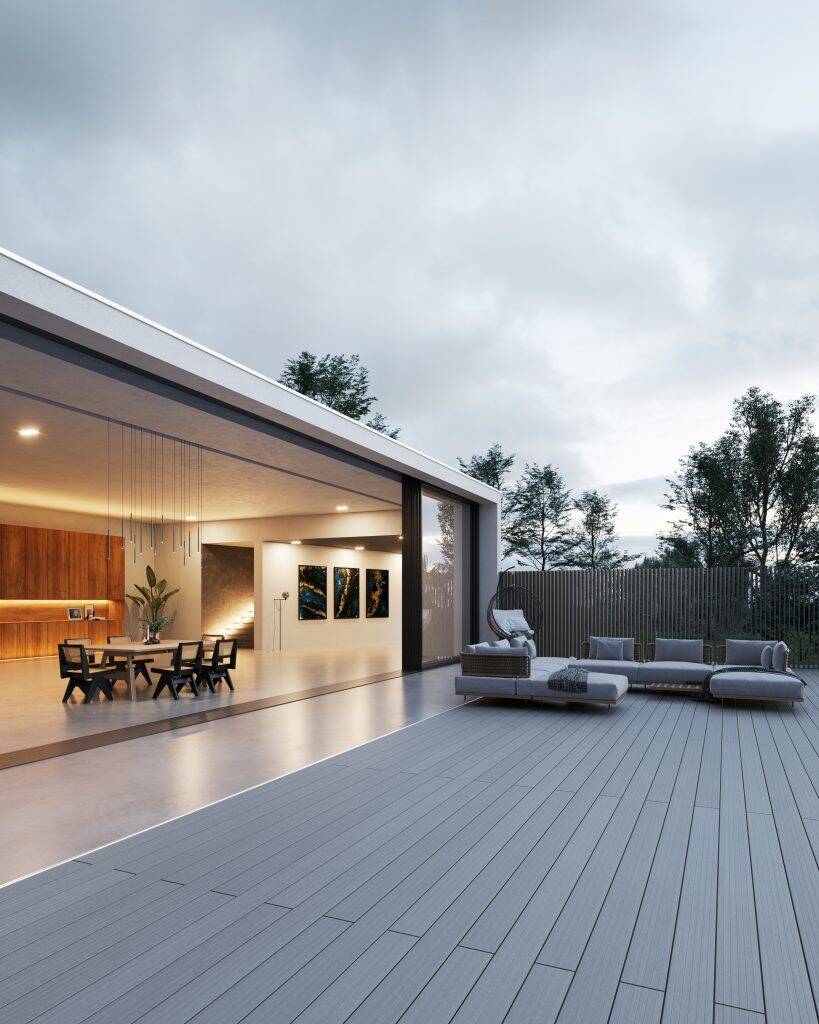
Finishing composite cladding involves neatly covering exposed board edges, external corners and the areas around windows and doors. The correct finishing method helps create clean transitions between cladding boards and surrounding surfaces while accommodating the boards’ natural movement.
Common finishing methods include using corner trims, end trims and reveal trims, depending on the cladding system and the area being finished.
This guide explains how to finish composite cladding corners, edges and window surrounds, including the important considerations when cutting and fitting finishing components.

How To Finish Composite Cladding
Composite cladding is typically finished using compatible trims that conceal exposed edges, create neat corners and provide transitions around openings.
The appropriate finishing method depends on the cladding profile and the part of the installation being completed.
For example:
- External corners: Corner trims create a neat transition where two cladded surfaces meet.
- Exposed board ends: End trims or finishing boards can conceal visible board edges.
- Windows and doors: Reveal trims help finish the junction between cladding and openings.
- Board junctions: Compatible joint trims can provide a consistent finish where required by the system.
Different composite cladding systems use different finishing profiles, so it’s important to select components that are compatible with the installed boards.
You can see the available components on our composite cladding trims and accessories page.
The following sections explain the practical considerations when finishing each area.
Corner Trims For Windows & Doors
Finishing composite cladding around windows and doors requires careful measurement and accurate cutting to create neat junctions between the cladding and the opening.
Where compatible corner trims are specified, the general process involves:
- Measure the opening and identify the lengths of trim required.
- Check how the trim sections meet at each corner.
- Cut the trims to the appropriate lengths and angles.
- Position the trims to conceal the exposed board edges without restricting required expansion gaps.
- Secure the trims using the fixing method specified for the cladding system.
Some trim profiles require mitred corners, while others use different joint arrangements. Always follow the manufacturer’s guidance for the particular profile.
The finished trim should create a tidy transition without obstructing ventilation, drainage or the natural movement of the cladding.
How to Finish Composite Cladding Around Window and Door Reveals
Window and door reveals are the recessed surfaces between the outer wall and the window or door frame.
These areas often require careful finishing because the cladding meets another material or surface.
Depending on the cladding system, reveal trims, finishing boards or compatible edge profiles may be used.
Finishing the Reveal
- Measure the depth and dimensions of the reveal.
- Identify the compatible finishing profile required by the cladding system.
- Cut the finishing components to suit the opening.
- Position the trim so that it creates a neat junction between the cladding and the frame.
- Secure the components according to the manufacturer’s installation instructions.
Take particular care around window sills, drainage paths and weather seals.
Finishing trims provide a neat appearance, but they should not be relied upon as the sole means of waterproofing the window or door junction.
How to Finish Exposed Composite Cladding Edges
Exposed edges occur where cladding boards finish at the end of a wall, beside an opening or at a change in the building’s exterior surface.
These edges can be finished using compatible end trims, corner profiles or finishing boards, depending on the cladding system.
The purpose of an edge trim is to conceal the exposed board end and create a neat transition to the adjoining surface.
Finishing an Exposed Edge
- Identify the exposed board edge and measure the length requiring finishing.
- Check which finishing profile is compatible with the installed cladding.
- Measure and cut the trim to the required length.
- Position the trim to cover the exposed edge while maintaining any specified clearances.
- Secure the trim using the manufacturer’s recommended fixing method.
Ensure that the finished edge remains properly supported and that the trim does not restrict normal board movement.
How Should Expansion Gaps Be Finished?
Composite cladding expands and contracts as temperatures change. Expansion gaps allow this movement without placing unnecessary pressure on the boards.
Depending on the cladding system, compatible finishing trims may conceal these gaps while preserving the clearance required for thermal movement.
A finishing trim should never be installed in a way that prevents the cladding from expanding or contracting.
The required gap depends on the board material, length, temperature and manufacturer’s specifications.
For a fuller explanation, see our guide to composite cladding expansion and contraction.
Frequently Asked Questions
How Do You Finish the Ends of Composite Cladding?
Exposed composite cladding ends can be finished using compatible end trims, corner profiles or finishing boards.
The correct option depends on the board profile and where the cladding terminates.
Finishing components help conceal exposed edges and create a consistent appearance across the installation.
How Do You Finish Composite Cladding Corners?
Composite cladding corners are typically finished using compatible corner trims.
The finishing method depends on whether the corner is internal or external and which cladding system has been installed.
Trims must be measured, cut and secured according to the manufacturer’s instructions while maintaining the required clearance for board movement.
How Do You Finish Composite Cladding Around Windows?
Window surrounds can be finished using suitable reveal trims, edge profiles or finishing boards.
The components create a neat junction between the cladding and window opening.
Care should be taken to preserve drainage, weather sealing and the specified expansion gaps.
Do Composite Cladding Edges Need to Be Sealed?
Composite cladding does not normally require the same routine sealing or staining treatments as traditional timber.
However, exposed ends, joints and penetrations must be finished in accordance with the specific cladding system’s installation requirements.
Do not apply sealants, waxes or coatings to exposed board ends unless the manufacturer recommends them.
Can Composite Cladding Trims Be Cut to Size?
Many composite cladding finishing components can be cut to the required length using suitable tools.
However, cutting methods depend on the material and profile of the trim.
Always check the manufacturer’s instructions before cutting, particularly where aluminium or specialised fixing profiles are involved.
Final Thoughts
Finishing composite cladding correctly involves selecting suitable methods for corners, exposed edges, window surrounds and board junctions.
Accurate measurement, careful cutting and appropriate fixing help create a neat appearance while maintaining the clearances needed for natural movement.
The most important consideration is ensuring that the finishing method is compatible with the cladding system and does not compromise drainage, ventilation or weather protection.